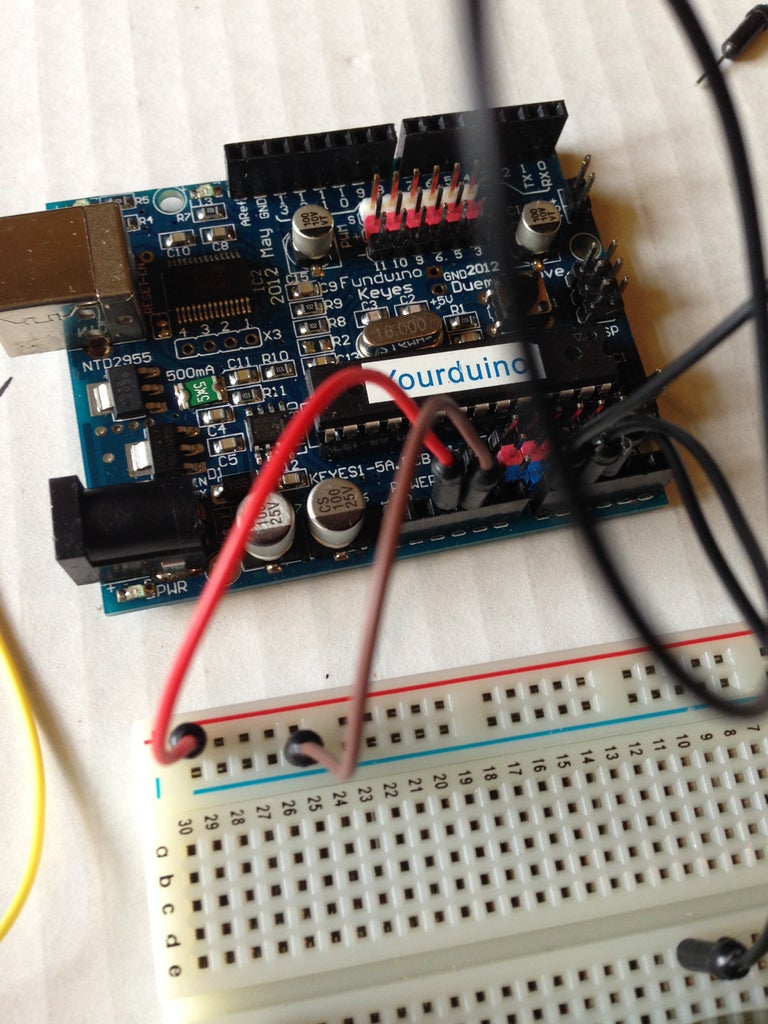
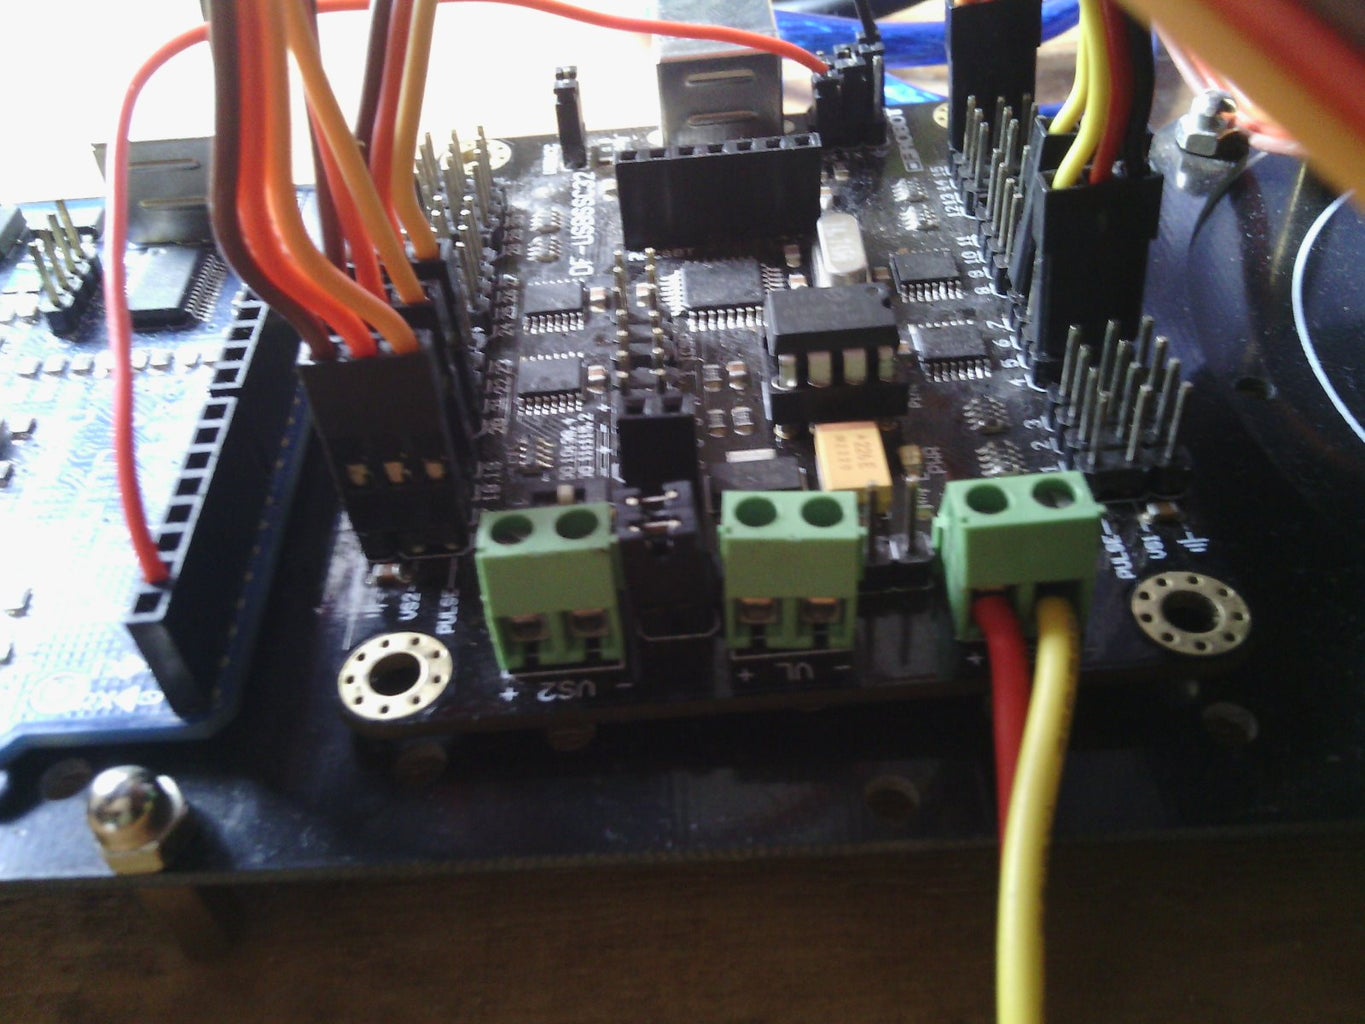
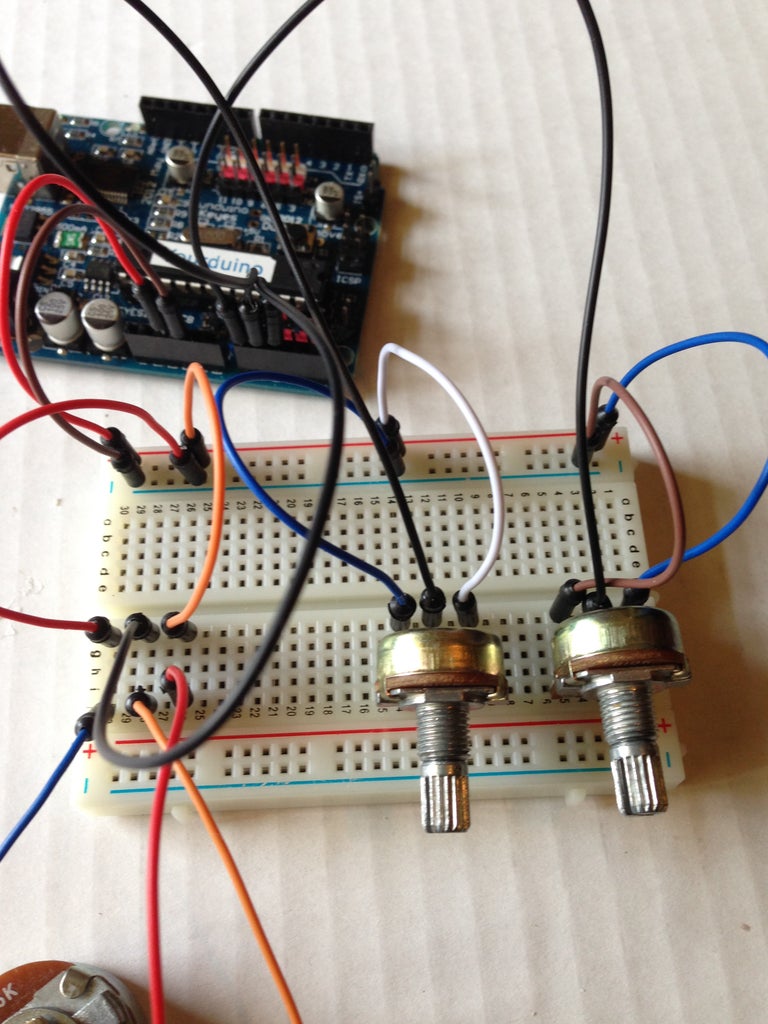
Arduino Robot Arm 5 Steps Circuit Diagram In this tutorial, we are going to design an Arduino Uno based Robotic Arm from some cardboards and servo motors.Entire process of construction has been explained in detail below. Here in this project Arduino Uno is programmed to control servo motors which are serving as joints of Robotic arm.This setup also looks as a Robotic Crane or we can convert it into a Crane by doing some easy tweaks. Afterwards, connect the PWM servo motor driver to the Arduino board and connect the 5v external power supply to this robot arm. For that, use the circuit diagram above. Step 20. OK, now connect this robot arm to the computer and let's creates the program for this project. It is as follows.
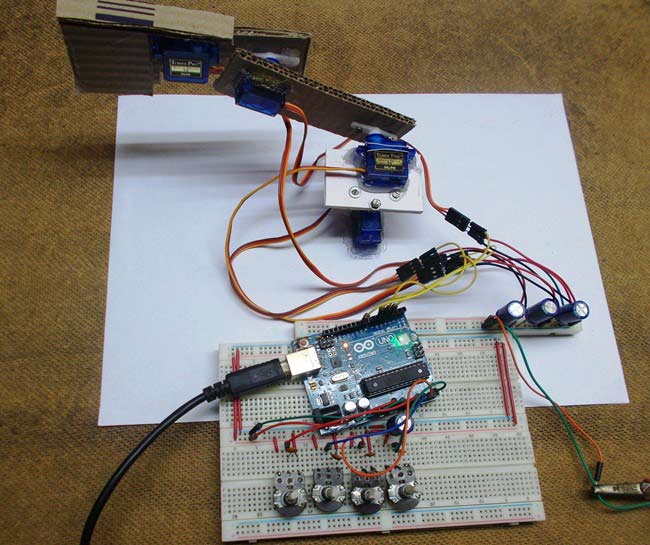
Make necessary wiring connections to the Arduino and also connect the power supply wires between the board and Arduino. With this step, we have successfully completed the construction of the Robotic Arm. Step 33. The final look of the completed Robotic Arm will be something like this.
Popsicle Stick Robotic Arm with Arduino Circuit Diagram
The first consideration is the arm's construction material. Materials such as cardboard can be very helpful for prototyping, but cardboard is more suited for glue as opposed to screws and bolts. Plastics such as acrylic provide better strength and can be bolted in place, but doing so requires some level of machinery to make.
This video shows how to build a simple robotic Arm using servo motors and an Arduino. Parts list, a circuit diagram, and example code are available on the Sc Make sure you have set the correct baud rate in the program that matches with your Bluetooth module baud rate. To be honest, this code and the Android app don't work very well. I made an updated version of the robot arm in my Arduino Robot Arm and Mecanum Wheels Platform project, where I use different approach to control the arm.
Arduino Robotic Arm : 13 Steps (with Pictures) Circuit Diagram
The main features of this mechanical crane like robotic arm are: Continuously adjustable "arm" over 180 degrees vertical axis. Continuously adjustable "elbow" over a 180 degree vertical axis. Continuously adjustable "finger pinch" or Grip over a 90 degree vertical axis. Continuously adjustable "arm" over a 180 degree horizontal plane. In this tutorial-based article, we are going to learn how to make a robotic arm with Arduino. Hardware Required. Arduino Nano / Arduino Uno; Sg-90 micro servo motors; Robotic arm chassis; Software Required. Arduino IDE; Robotic Arm. The robotic Arm is one of the most common concepts which is used for project purposes in the mechatronics and